How to install a garage door
Installing a garage door is a valuable DIY project. Follow this guide for safer and efficient installation, focusing on preparation, tracks, springs, and testing.

How to Install a Garage Door: A Brief Guide
Installing a garage door can be a rewarding DIY project, but it does require careful preparation and attention to safety. While professional installation is always an option, here’s a high-level overview of how the process typically works.

4
1. Prepare the Space
Start by clearing the garage and ensuring the opening is clean and level. Measure the width, height, and headroom to confirm your new door fits properly. Gather all tools and review the manufacturer’s instructions before you begin.
2. Install the Tracks and Hardware
Attach the vertical tracks to each side of the door opening, followed by the horizontal tracks that run along the ceiling. Secure all brackets and rollers carefully—these guide the door’s movement and must be aligned correctly.
3. Assemble and Set the Door Panels
Beginning at the bottom, stack and secure the door panels one by one. Add hinges and rollers as you go, checking that each panel is level before moving to the next.
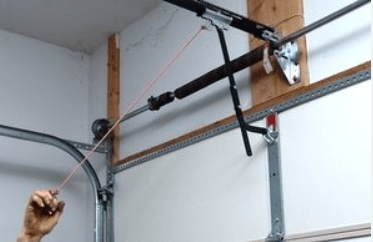
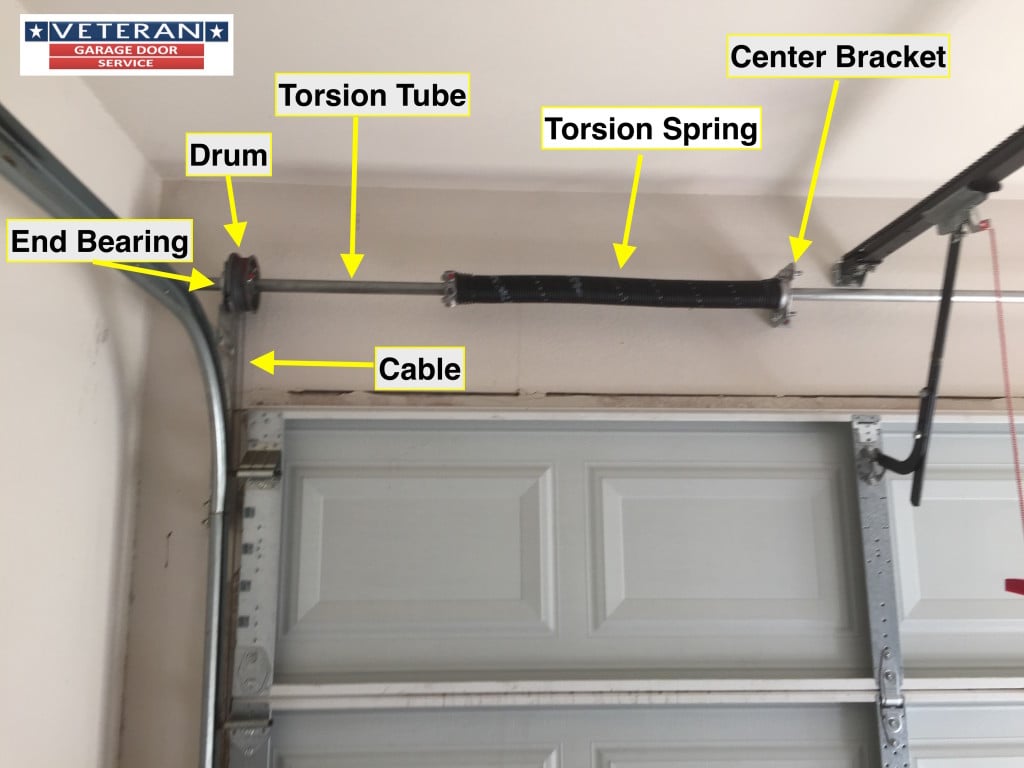
4. Add Springs and Cables
Springs (torsion or extension, depending on the door) help counterbalance the door’s weight. This step is the most dangerous part of the process—follow instructions closely and use proper tools. If you’re unsure, this is the point where calling a professional is strongly recommended.
5. Install the Opener and Test
Once the door is mounted, install the garage door opener and connect it to the door. Test the door manually first, then with the opener, making small adjustments until it opens and closes smoothly.
Final Thoughts
Garage door installation isn’t overly complex, but it demands precision and respect for safety. If at any point the job feels overwhelming—especially when dealing with springs—it’s best to pause and seek expert help. A properly installed garage door will operate smoothly, safely, and reliably for years to come.